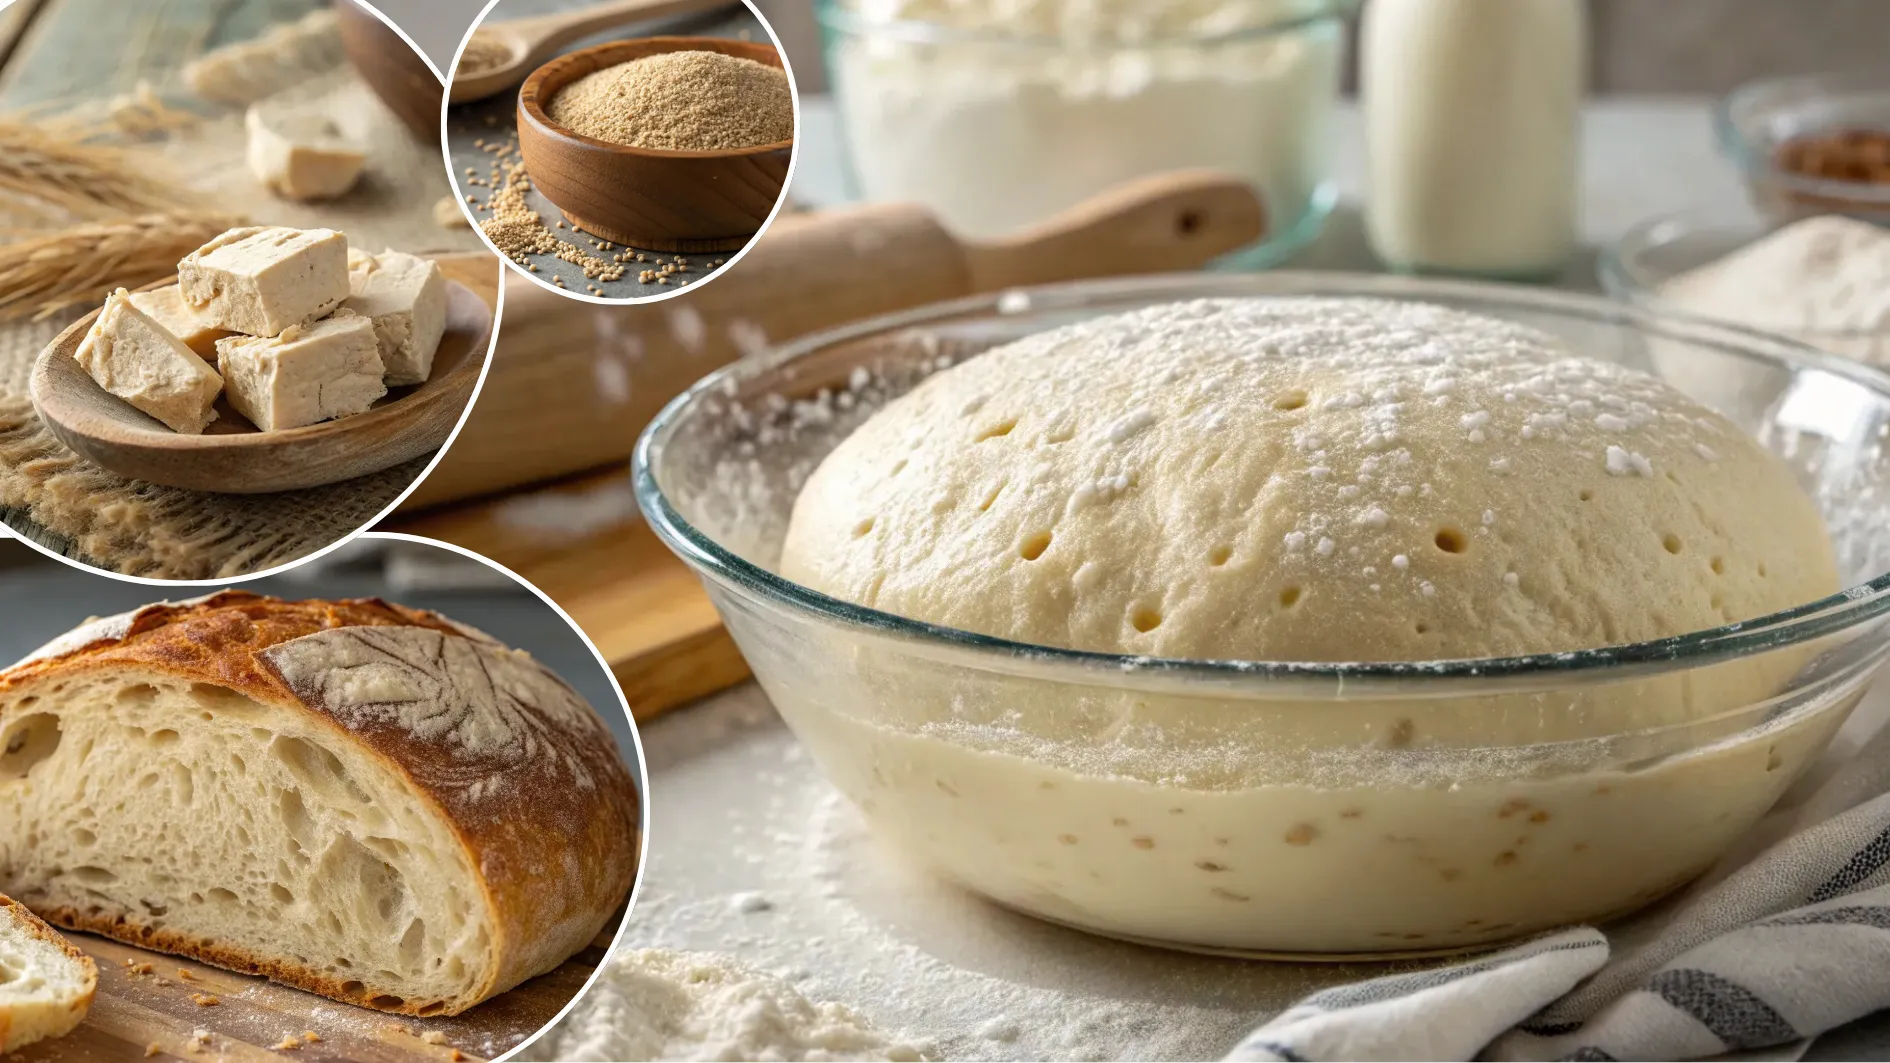
If you’ve ever baked a loaf of bread, made homemade pizza, or rolled out cinnamon buns, you’ve witnessed the magic of yeast and dough in action. That soft, airy rise isn’t just luck, it’s the result of a living ingredient doing its job behind the scenes: yeast.
In this guide, we’ll explore the fascinating science of yeast and dough, including how fermentation works, the key differences between yeast types, and how to choose the right one to elevate your baking results.
Curious how this knowledge applies in the kitchen? Start with our Pizza Dough Guide, chewy, crisp, and full of flavor, it puts the science into delicious action.
Yeast and Dough: What Really Makes Bread Rise?
1. What Is Yeast?
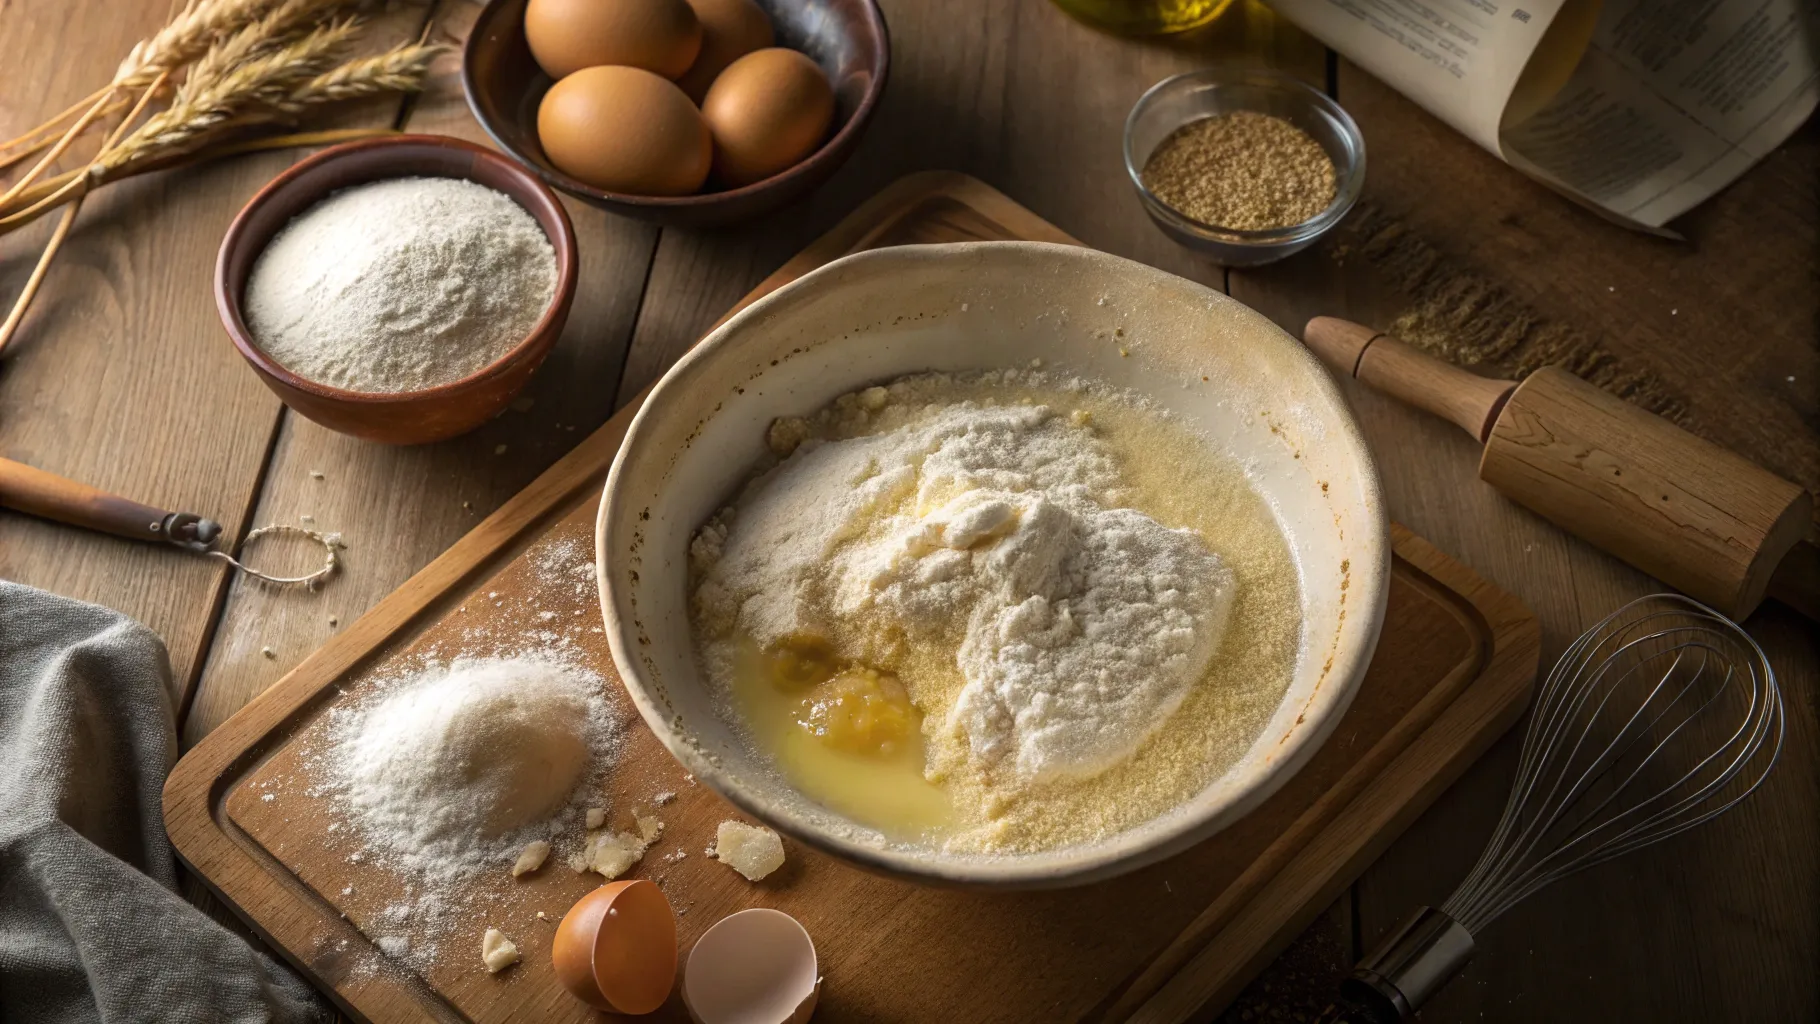
Yeast and dough are the heart of bread baking, a living partnership that transforms simple ingredients into soft, airy perfection. Yeast is a living microorganism, a type of fungus that feeds on sugars and produces two important byproducts: carbon dioxide (CO₂) and alcohol. These byproducts are what cause dough to rise and give bread its signature flavor and texture.
When yeast is mixed with flour and water, it activates and begins feeding on the natural sugars in the flour. This process, known as fermentation, is the foundation of all yeast-leavened recipes.
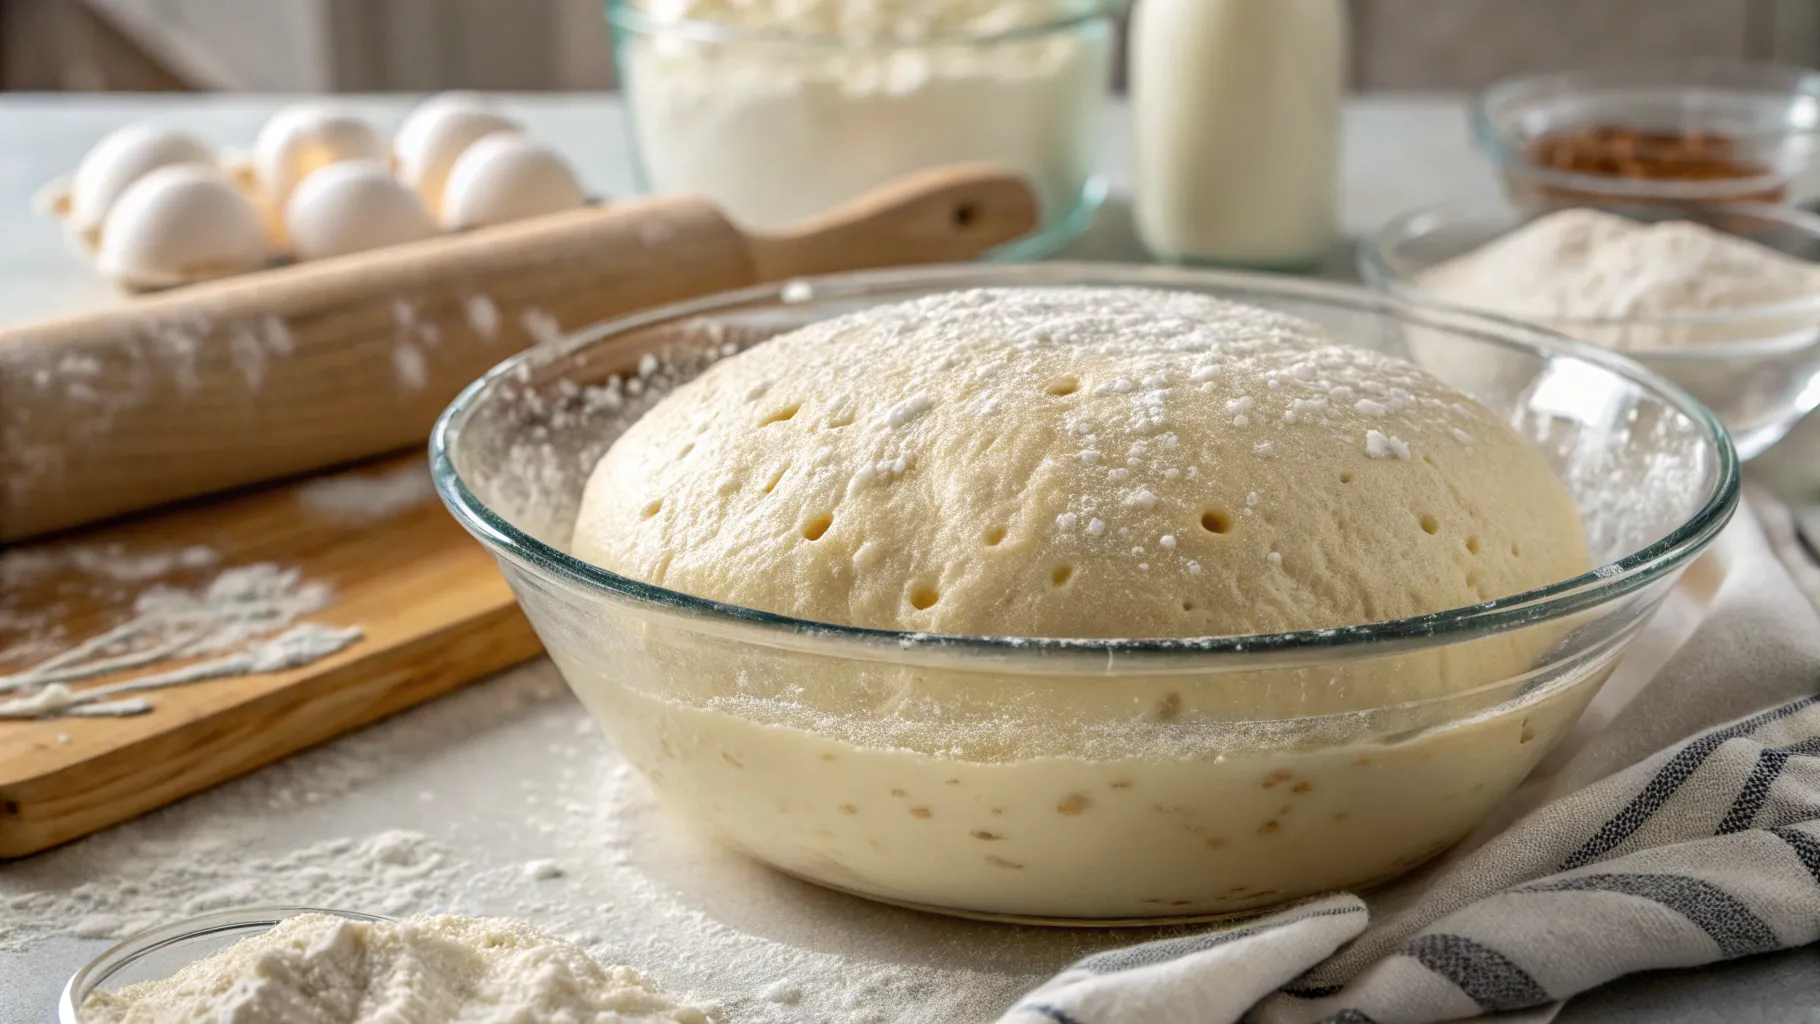
2. What happens during fermentation?
- Carbon dioxide gas becomes trapped in the dough, causing it to expand and rise.
- The yeast and dough work together to create a light, airy structure with small air pockets, the hallmark of good bread.
- Alcohol is also produced in small amounts, enhancing the flavor and depth of the final baked product.
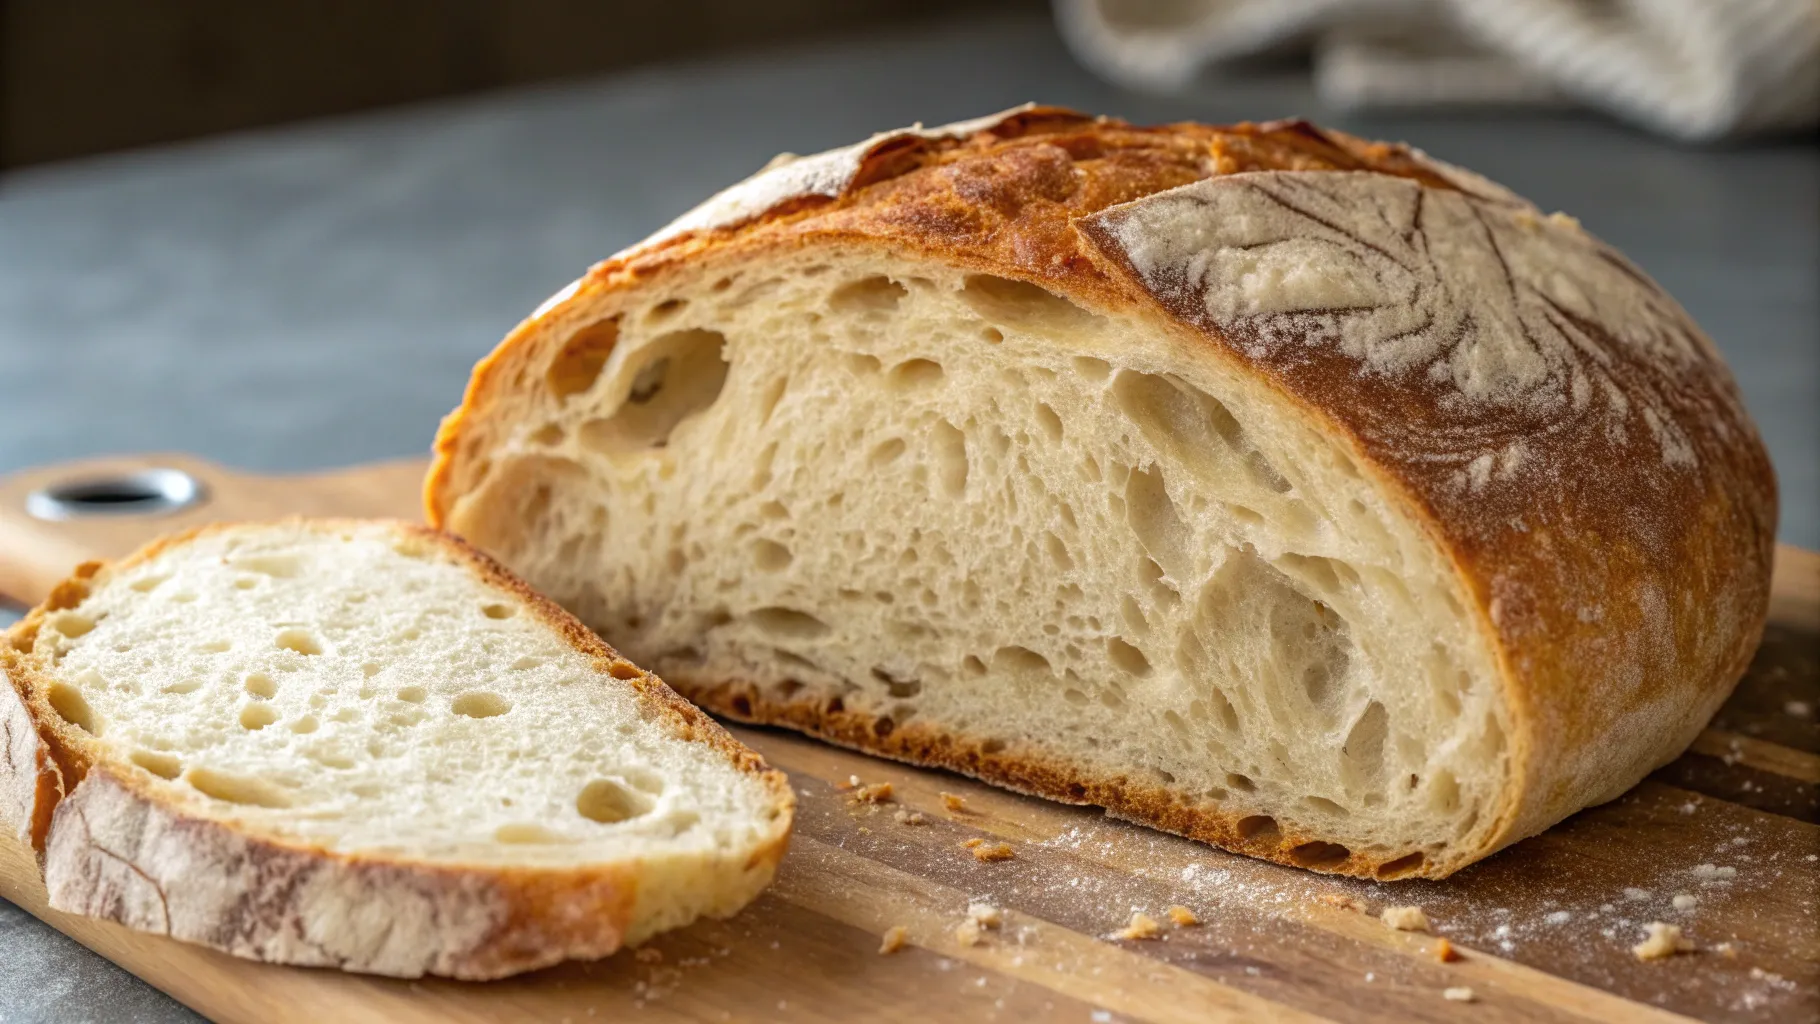
This natural process is what turns a simple mix of flour and water into flavorful, bakery-quality bread.
The Role of Gluten in Dough Development
Yeast isn’t working alone. As you knead the dough, gluten (a protein in wheat) forms a stretchy network that traps the carbon dioxide.
- Think of gluten as a net or balloon, it holds the gas in place and gives dough its structure.
- The longer you knead, the stronger the gluten becomes, making the dough more elastic and capable of holding its shape as it rises.
Without this gluten network, the gas would escape, and your dough would remain flat.
Active Dry Yeast vs Instant Yeast: What’s the Difference?
When it comes to baking bread, rolls, or any yeast-leavened recipe, choosing the right type of yeast can make a big difference in the process and the final texture. The two most common types you’ll find in the baking aisle are active dry yeast and instant yeast. Both come from the same strain of yeast, Saccharomyces cerevisiae, but they’re processed differently, which impacts how you use them in recipes.
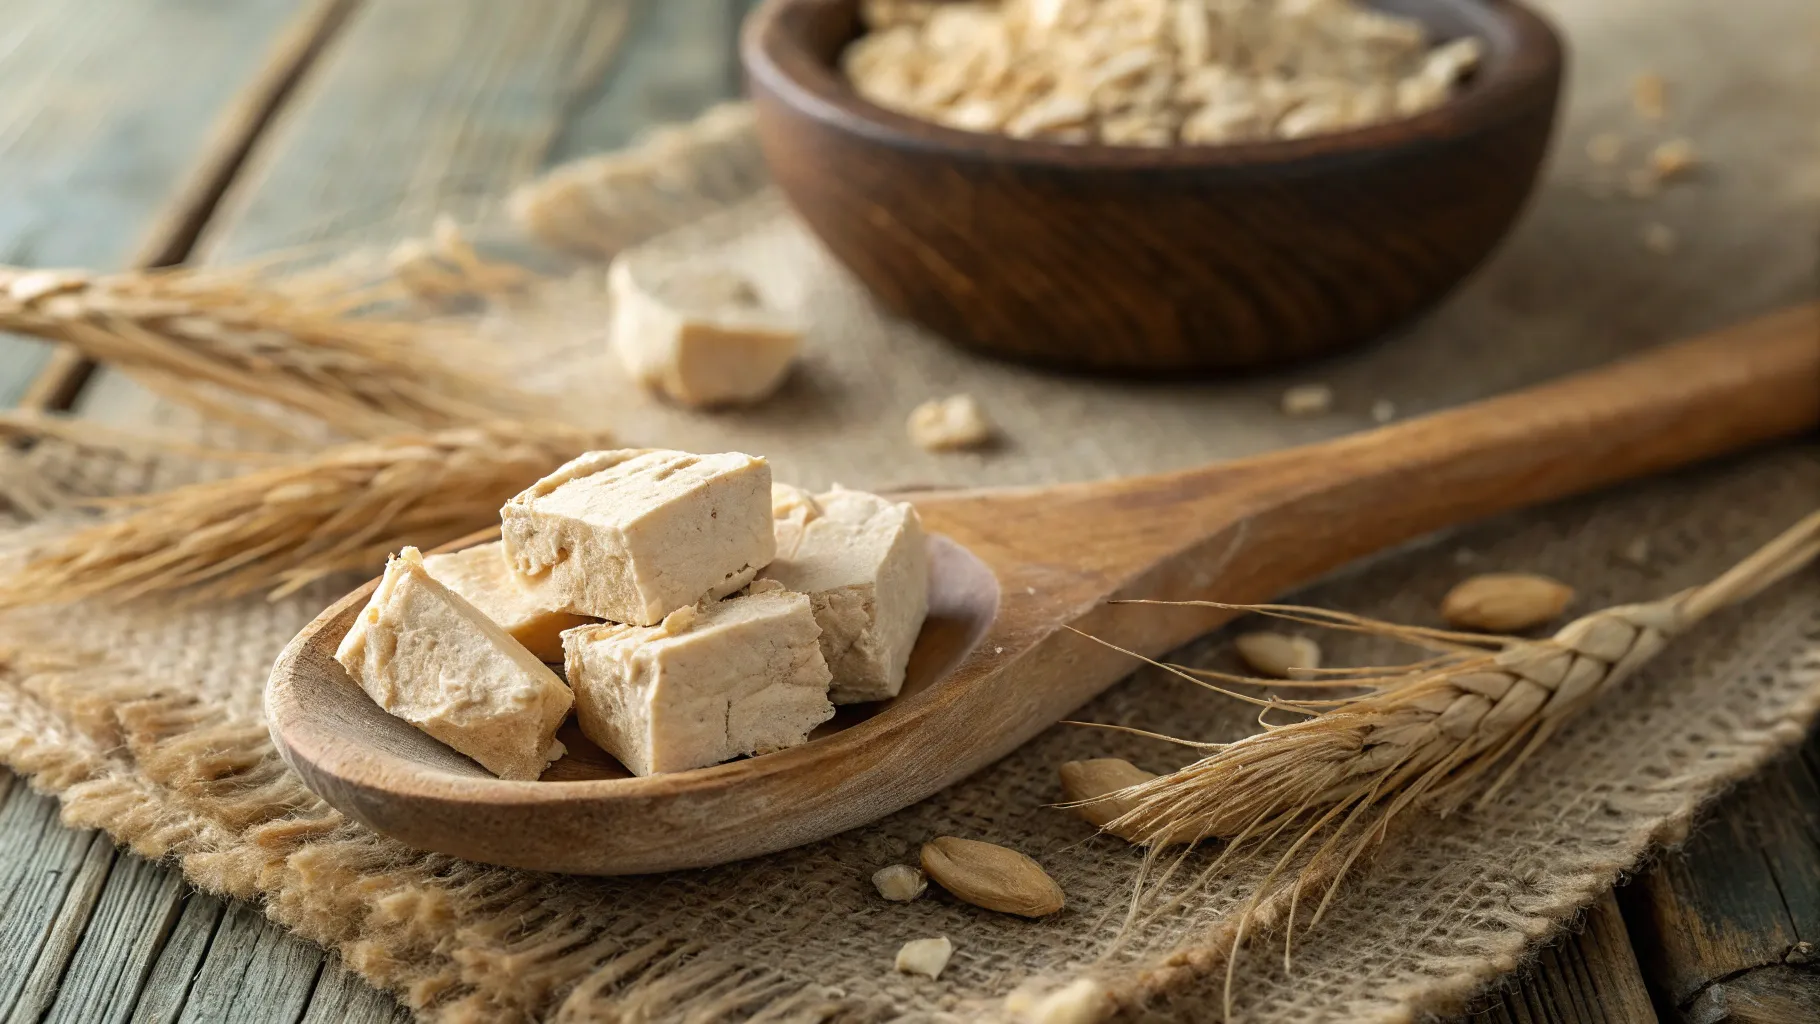
1. Active Dry Yeast
What it is:
Active dry yeast consists of coarse, larger granules that are partially dehydrated to preserve shelf life. Because of this, it must be activated before use, this step is often called “proofing” the yeast.
Key Characteristics:
- Needs to be dissolved in warm water (about 105–110°F / 40–43°C) before mixing into dough.
- Has a longer fermentation time, meaning your dough will take longer to rise, but it also develops a richer flavor.
- Excellent for traditional bread baking and recipes that benefit from slow rises like artisan loaves or sourdough hybrids.
How to Use:
- Mix with warm water and a pinch of sugar.
- Let it sit for 5–10 minutes until it becomes foamy and bubbly, this means it’s alive and ready to go!
- Then, combine it with the remaining ingredients.
Best For:
- Breads that require a double proof (first rise and second rise)
- Recipes with longer fermentation periods
- Bakers who prefer more flavor complexity
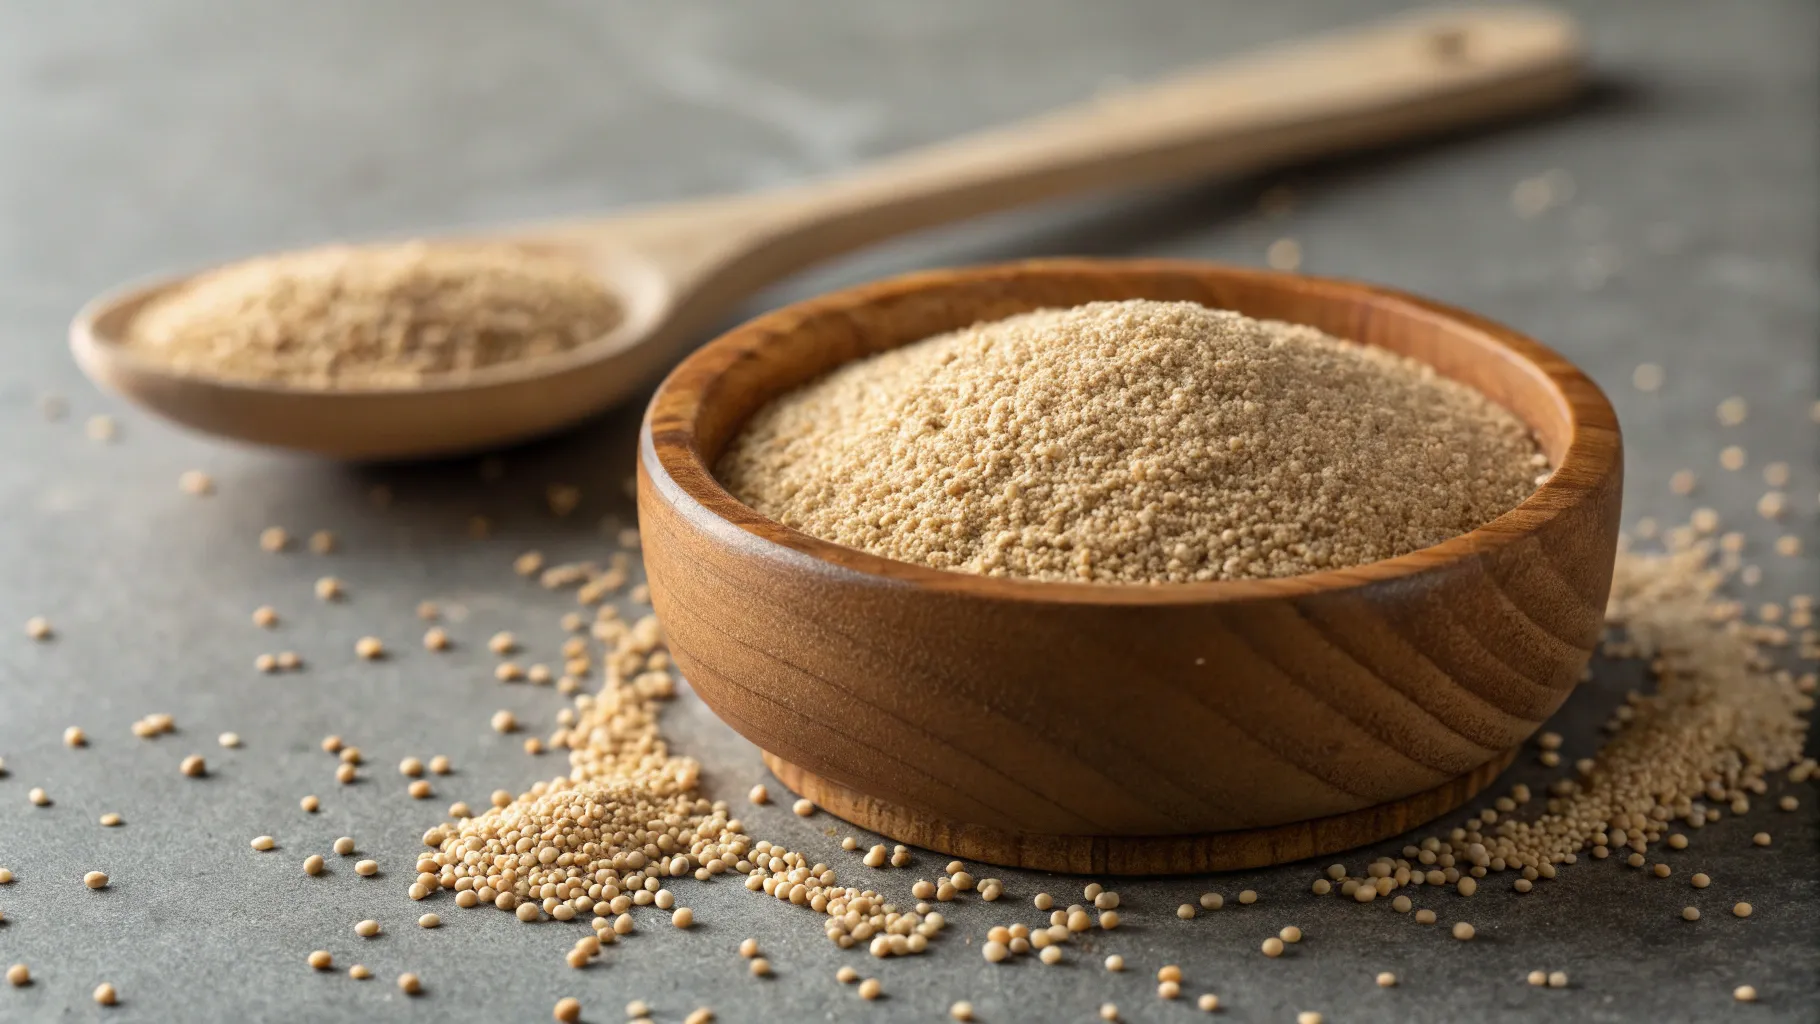
2. Instant Yeast
(Also called “quick-rise,” “fast-rising,” or “bread machine yeast”)
What it is:
Instant yeast is more finely ground and has a higher concentration of live yeast cells. It’s processed to be ready for action right out of the packet, without the need for proofing.
Key Characteristics:
- Can be mixed directly into dry ingredients, no need to dissolve in water.
- Rises faster than active dry yeast, making it perfect for quick baking.
- Ideal for weeknight dinners, pizza crusts, or any time-saving recipes.
- Works very well in bread machines or no-knead recipes.
How to Use:
- Stir the yeast directly into the flour and other dry ingredients.
- Add warm liquid (ideally 120–130°F / 49–54°C) and proceed with the recipe.
Best For:
- Quick baking needs, like same-day breads and rolls
- Beginner bakers who want consistent, predictable results
- Pizza dough, sandwich bread, or cinnamon rolls with one rise
1. Quick Comparison Chart:
| Feature | Active Dry Yeast | Instant Yeast |
|---|---|---|
| Granule Size | Larger | Finer |
| Proofing Required | Yes | No |
| Rise Time | Slower | Faster |
| Flavor Development | Deeper, richer | Mild, quick |
| Ideal Use | Artisan & traditional loaves | Quick breads & pizza dough |
| Can Add Directly to Flour | ❌ | ✅ |
| Best Temp for Liquid | 105–110°F (40–43°C) | 120–130°F (49–54°C) |
Bonus Tip: Can You Substitute One for the Other?
Yes, you can substitute instant yeast for active dry (and vice versa), but adjust your method:
- Instant instead of active dry: Use about 25% less and skip the proofing.
- Active dry instead of instant: Bloom it in warm water first and give the dough extra time to rise.
How Yeast Affects the Proofing Process
Proofing, or the process of letting dough rest and rise, is where the magic of yeast truly shines. During proofing, yeast ferments the dough by consuming sugars and releasing carbon dioxide, which causes the dough to expand and develop flavor. This stage is essential not only for the rise of your bread but also for creating the airy structure and complex taste we associate with great homemade loaves.
1. How Proofing Works:
As yeast feeds on sugars, it produces carbon dioxide gas, which gets trapped in the gluten network you developed while kneading. This trapped gas forms air pockets that make bread light and fluffy. At the same time, the dough is undergoing subtle flavor transformations thanks to fermentation, especially during longer rises.
2. Active Dry Yeast: Slower, Flavorful Rise
Active dry yeast tends to work more slowly and steadily, which is why many recipes using it require two proofing stages:
- Bulk fermentation (first rise): Happens after kneading and gives the dough its initial structure and volume.
- Final proof (second rise): Occurs after shaping and gives the dough its final size and texture before baking.
This longer fermentation process enhances the depth of flavor and allows the dough to fully develop.
🕰️Typical rise time: 1–2 hours per proof (depending on room temperature).
3. Instant Yeast: Speedy and Convenient
Instant yeast is more efficient and fast-acting. It doesn’t require proofing before use and starts working almost immediately after it’s mixed into the dough. For many recipes, this means you’ll only need one rise, saving time without sacrificing too much in texture.
🕰️ Typical rise time: 45–60 minutes, sometimes even less.
This makes instant yeast ideal for busy days, weeknight dinners, or beginner-friendly recipes where time is a factor.
4. Choosing the Right Rise Time: Flavor vs. Convenience
- For better flavor and texture: Go with active dry yeast and allow for two longer proofing stages, or even an overnight rise in the refrigerator for artisan-style bread.
- For quick results: Use instant yeast and follow recipes with a single rise or shorter fermentation time.
Remember, proofing is about more than just rising, it’s about developing structure, flavor, and aroma. Even if you’re using instant yeast, don’t rush the process too much. Let the dough tell you when it’s ready by watching for the classic signs: doubled size, pillowy texture, and a slight spring when gently pressed.
Temperature and Yeast Activity
Yeast is sensitive to temperature. Here’s how it behaves:
- Too cold (<70°F / 21°C): Yeast works slowly or becomes dormant.
- Ideal (75–85°F / 24–29°C): Yeast is most active, dough rises steadily and evenly.
- Too hot (>120°F / 49°C): Yeast can die, and your dough won’t rise.
Pro Tip: Use warm (not hot) water and let dough rise in a warm, draft-free area (like inside a turned-off oven with the light on).
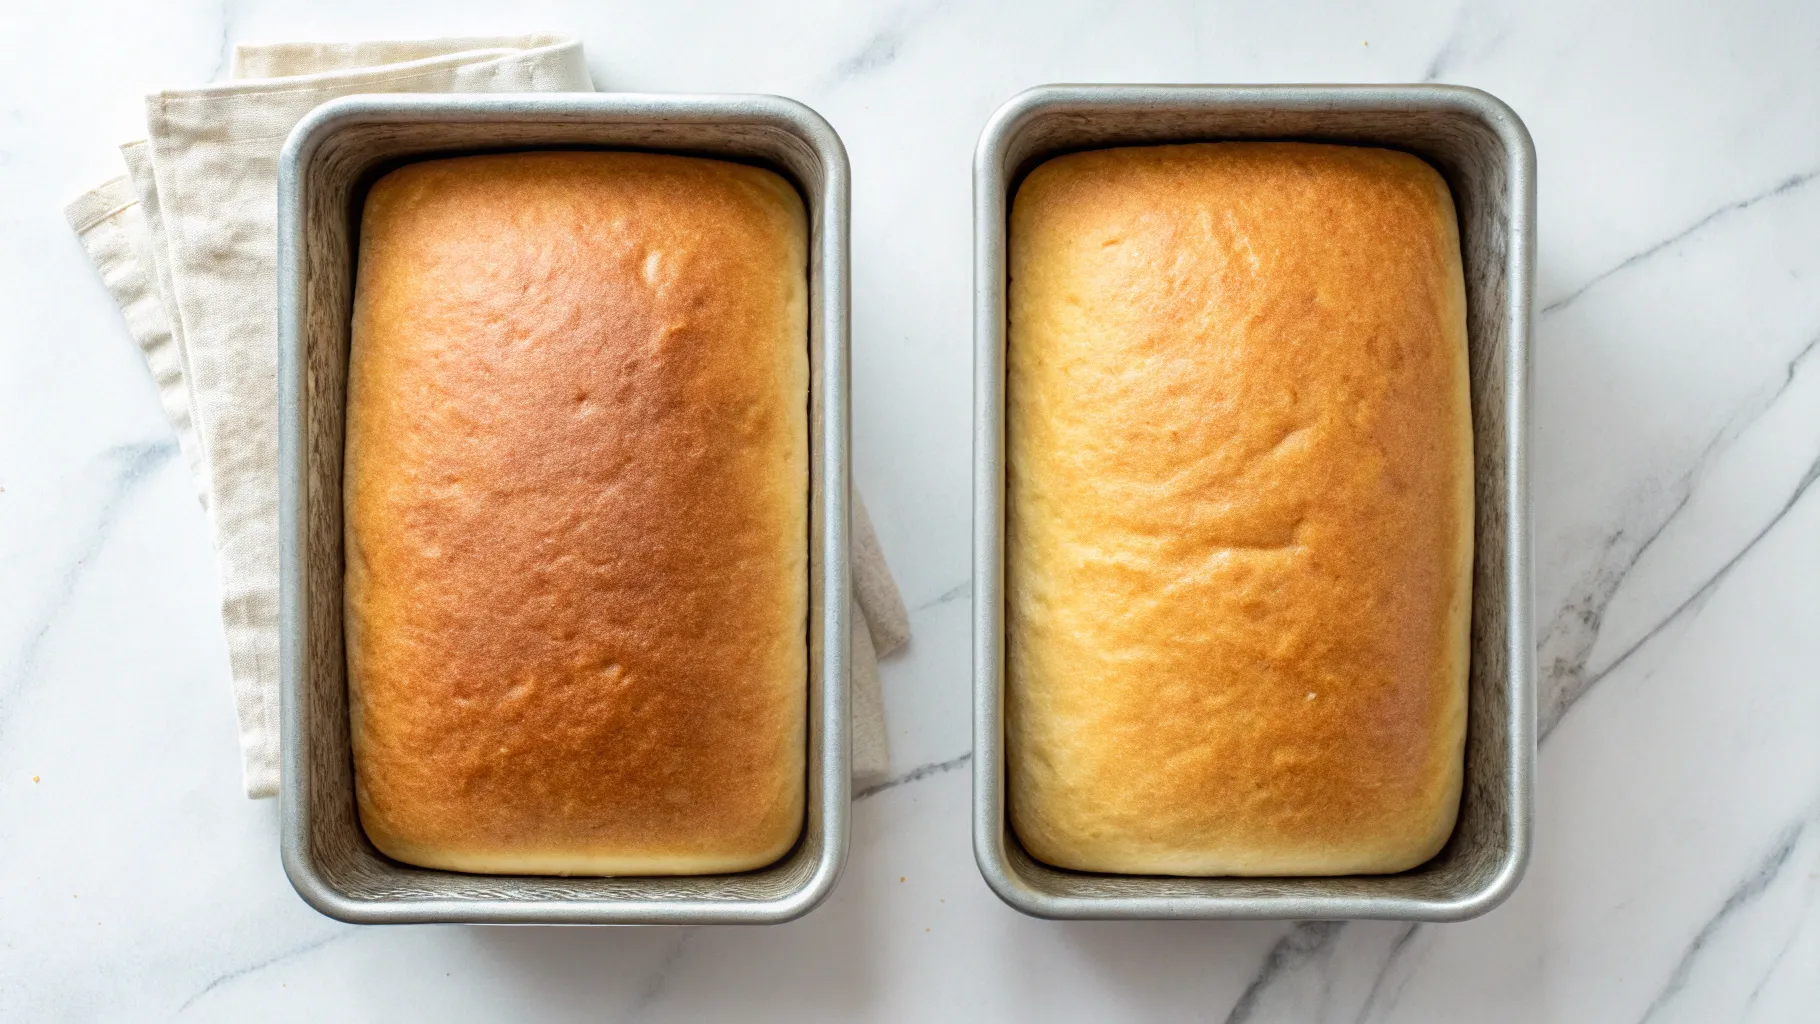
How to Know Your Dough Is Ready
No matter which yeast you use, there are a few signs your dough has risen enough:
- It doubles in size during proofing.
- Press your finger gently into the dough, if it springs back slowly and leaves a slight indentation, it’s ready to bake.
- Over-proofed dough may collapse or have a strong sour smell.
Quick Recap: Choosing the Right Yeast
| Yeast Type | Prep Needed | Rise Time | Best For |
|---|---|---|---|
| Active Dry | Needs dissolving | Slower | Long-fermented breads, deeper flavor |
| Instant Yeast | No proofing needed | Faster | Quick bakes, pizza dough, beginner baking |
Final Thoughts
The more you bake, the more you’ll get a feel for how yeast behaves and how dough should look and feel. Whether you’re going for a crusty artisan loaf or a quick pizza base, understanding the science of yeast and dough development will make you a more confident and creative baker.
So next time your dough rises beautifully, you’ll know exactly why, and how to make it happen again and again.